Moodle Tricks of the Trade – Using a Lightbox Gallery as an image store

This is the third post in the series: #Moodle Tricks of the Trade

This is a technique that I use widely on different Moodles or Totaras to better manage the images that I use within the courses and the learning materials. The basic principle is rather than uploading the same image lots of times, the image is uploaded once to a central location using a ‘Lightbox Gallery‘, then when it is needed, we link to that image by URL.

On some systems, I set this mechanism up on the Front Page – this means I can then use the images anywhere across the site and for sites with a small number of courses and where I build most of the learning, this works well. For other sites, I create a mechanism within each course – this works better when there are lots of courses each with their own editing teacher.

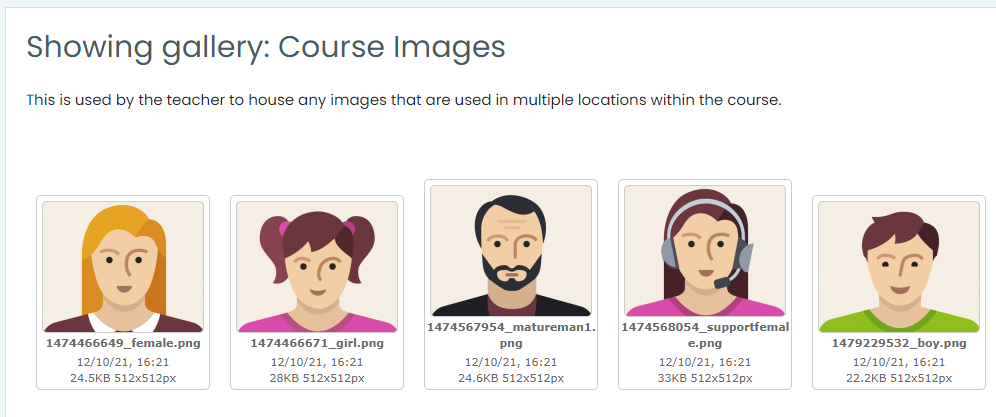
Screenshot showing the lightbox gallery, with a row of images

Note – if setting the mechanism up, on the frontpage, any images that are uploaded are potentially visible to anyone in the World, as items on the frontpage are by default visible outside of the login process. This could be mitigated by changing permissions to users so that only authenticated users can view the items.

The advantage of using a technique like this, is if a certain image is being used lots of times (e.g. I use icons a lot to connect items together), the image is stored once on the system, rather than potential duplicates. This saves memory on the server (which for some sites I work on is a huge issue), and if in the future I wish to change that image to another one, I only have to change it in one place, rather than hunt through the entire site to try and find every place it was used and swap it one by one. The other advantage, is if I have one type of resource or activity (e.g. a page or a book) and I wish to use that content in a different activity type (e.g. a forum, lesson, quiz etc.) – the easiest way for me to do this, is to simply copy and paste the html code from one page to another. If I have uploaded an image by the traditional technique this may not work, as the copying and pasting of the html, may break the link to the image, and as an editor you may not spot this at first (if your browser has cached a copy of the image), and by the time you do spot it, you have no idea where the original image is or what it is called, and if you don’t have the source file to hand to re-upload, can be in trouble. It is this behaviour catching me out on numerous occasions that has led me to take a different approach to manage images.

There are two very strong caveats to using this technique, which is important to understand before starting:

  1. If you are adding the lightbox into a course, and you wish to create a copy of the course e.g. to set up a version of the course for a future year, when you restore the back-up, the new course will give the lightbox a different ID number, which means that the URLs of the images within it, will also change. However, the images within the other resources won’t change, so they will initially point to the lightbox in the old course. All that needs to change is a single number within the URL, so it would be possible to use the site wide Moodle ‘find a replace’ tool to correct this problem in one move – but this would then mean that the old course would also update e.g. it would be looking up images in the new course, which may or may not be a problem (e.g. if the course is now an archive, and has no active students accessing it, then not a problem – but if there are still active students on it, then this would be a problem). If the lightbox is placed centrally (e.g. on the front page of the Moodle), then this isn’t a problem as the central lightbox won’t change when the course is backed up and restored so will work fine.
  2. If you were to ever move the Moodle to another host, the process of migrating the content over to the new host, may result in the module IDs changing (it depends how you do the migration), which in turn would create a similar problem. This could be rectified with a site wide find and replace, but you would have to do this for each lightbox in turn – and there is a possibility you could get an overlap of modules IDs which would then mess things up completely.

If you do not understand these caveats, or are not comfortable with the risks that this brings, then I would walk away now, and don’t follow this suggestion further. If however, you do understand these caveats and the potential risks involved, then this can be a very useful mechanism….
Adding screen tips to an image in Microsoft Word or PowerPoint

If you have a word document that contains images – there is a simple way to add an element of interactivity to it, without having to alter the appearance of the document in any way.

The basic principle is to have an image (e.g. a photo) and as the learner moves their mouse over the image – it provides a screen tip which could name or describe that part of the image. This is a very basic form of interactivity, but it is very easy to do and is a good starting point for someone if they have existing Words based resources.

This technique can be used to improve the accessibility of a resource, (in that you are providing additional information to the learning – without cluttering the screen with too much information) or to add an element of differentiation (the learner that is struggling to understand the image, can hover their mouse to get more information).

This technique is part of the JISC TechDis accessibility essential series – and can be found at http://www.jisctechdis.ac.uk/AccessibilityEssentials/2007/AE2/modules/authoring%20accessible%20docs/use%20of%20screen%20tips.html

The following video shows how to do this.

In this video, the hyperlink points to the top of the document as that is where the image was. If you are using an image part way down the document, you can either insert a bookmark next to the image to link to, or give the image a heading (and use the styles to make sure it is a heading) and link to that.

You can also use this technique in PowerPoint by just linking to the slide that you are on, as shown in this video.

Simple drawing techniques in PowerPoint

I have been called many things in my time (some pleasant, some less so) including perfectionist, obsessive behaviour, pedantic. Now I don’t think that I am a perfectionist (if you saw the state of my house, office, car – you would see why), but in one area of work I am certainly pedantic, and I think I have developed an obsessive disorder. This area is the way that people create images in Word or PowerPoint:-

I often see high level presentations, keynote speeches, websites and even expensive glossy printed literature advocating the use of technology – where they have created sloppy drawn images – now this frustrates me, and when I am sat in the audience and someone is ‘training’ me – I look at their badly drawn image on the screen, and think ‘You cannot even run a spellchecker, you can’t draw 2 boxes the same size, and why is there a gap in that bent arrow? – How can I trust your expertise on……’

Although others may not react in the same way to me, I am sure that all will agree that a well constructed diagram or image will have a far better impact on learners than a sloppy image – and the sad truth is that it is very easy to do (unfortunately though the skills are often not taught).

So in order to right the wrongs I have produced this sequence of 5 screencasts, showing how it is possible to quickly create a professional looking flowchart in PowerPoint (or Word or Excel).

The first video was the introduction seen above

The second video looks at how to create the shapes, making sure they are all the same size, all formatted the same.

The third video looks at what has to be the best kept secret within Microsoft Office – and that is the align and distribute tools, if you haven’t used them before please have a look – they will save you lots of time and make a huge difference to your output.

The forth video, shows the second best kept secret within Office – the connectors tool, which will again save lots of time and improve the quality of output.

And the final video, shows the group, and ungroup tools within Office.

I hope that these videos will make a difference to the quality of presentations that are used, and will help me to overcome my obsessive behaviours and PowerPoint rage!

The videos above although produced by myself belong to the JISC RSC SE.

Finding and using creative commons images

A few years ago, if someone wanted to use an image in a presentation, then the norm would be to do a Google search for the image, then copy and paste that image into the presentation. This had 2 problems:

  • The images were often uploaded to the web as a low resolution to increase the download speed, so often ended up pixelating when enlarged.
  • The images almost always broke copyright, and were thus being used illegally.

Thankfully, due to the rise of image sharing sites such as Flickr, Picasa, Photobucket there is an abundance of high quality images out there, that are easily searchable, easy to use, and often uploaded with a creative commons licence. Creative commons is where the person that owns the image, has released it with a licence giving you permission to use it (with certain conditions) without having to ask their express permission.

So if I want to use an image for a teaching resource, and I don’t have an appropriate one that I have taken with my own camera, then I use these services to find what I want. Personally I use Flickr (just because it is what I know), and rather than searching within Flickr, I use a website called http://www.compfight.com this searches Flickr for me, only selecting images that are released with a creative commons licence. Once I have found an image to use, I then use a site called http://imagestamper.com/, what this does is record the images that I use, and records the licence agreement associated with the image at the time that I used it. This is just an extra level of protection just in case the owner changes the licence agreement in the future. I have created a video to demonstrate how the 2 sites work.

(if you cannot view because YouTube is blocked then it can also be accessed at http://screenr.com/EAp

It should be possible to find a high quality legal to use image on just about anything, which should make a huge improvement to the quality of teaching materials, and the learning experience as a result.

Finding Creative Commons Images on Flickr

Flickr is a wonderful resource for people in education, as there are millions of high quality images that can be used, most of which are released under something called creative commons, which basically means we can legally use them.

Today I was introduced to a couple of new websites, that will help with the finding of these images, and then date stamping them to show that the image had an appropriate creative commons licence at the time that you found it.

The first site is called Behold and is a very simple page, where you enter your keywords, tick the box next to ‘free to use’ and search. It will search Flickr for images that have been tagged with your seach term, and show them as a gallery, if you click on a desired image, it then takes you to that image on Flickr. This is very simple and quick and saves having to use the advanced search feature in Flickr.

The second site is called ImageStamper With this you create an account on the site (in the usual sort of way) and then having found your image on Flickr, you pop the URL into this site, and it will record for you your search and the licence agreement at the time (so if in the future someone changes the creative commons licence, you have this as evidence that it was available for you to use at the time that you used it). Obviously common sense is still required, as some ‘commercial’ images are sometimes uploaded to Flickr without the owners permission, but this simple system will make it very easy to record and log any images used from Flickr.